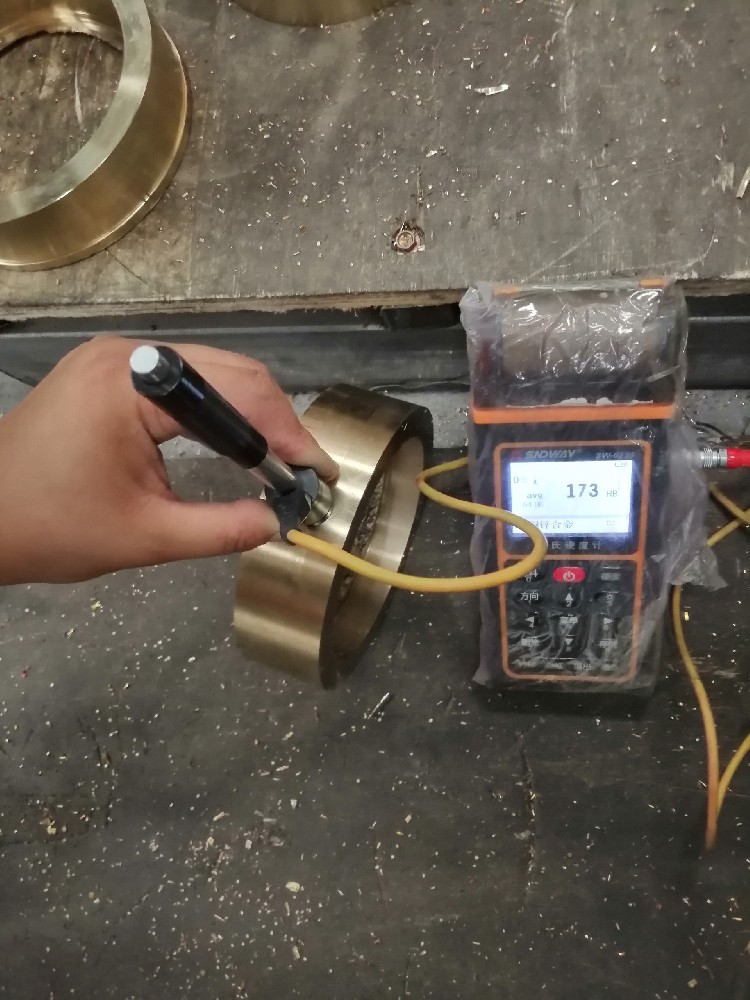
The advantages and disadvantages of copper bushing finish testing are mainly related to the accuracy, efficiency and applicability of the testing methods. The following are some commonly used copper bushing finish inspection methods and their advantages and disadvantages:
Contact Finish Inspection
The surface roughness is measured by moving the stylus on the surface of the copper bushing using a contact tool such as a profilometer or roughness gauge.
Advantages:
High accuracy: contact measuring instruments can provide very precise values of finish, which is suitable for surface quality inspection of copper bushings with high requirements.
Measurement of small unevenness: the ability to detect small surface undulations makes it particularly suitable for the inspection of high-precision copper bushings.
Intuitive data: can directly display and record the value of finish and surface profile information, easy to analyse.
Disadvantages:
Slight damage to the surface: as the measurement requires the stylus to contact the surface, it may cause minor damage to the surface of the copper bushing, which is unfavourable especially in high precision and precision parts.
Less efficient: measurement is relatively slow, especially when multiple points need to be measured, and contact methods can be time-consuming.
Limited applicability: For soft or deformable materials, contact measurement may lead to errors.

Non-Contact Finish Inspection
Using optical measuring instruments, such as laser roughness meters and white light interferometers, measurements are carried out optically, without contact with the surface of the copper bushing.
Advantages:
Non-destructive: The non-contact method does not cause any damage to the surface of the copper bushing, which is especially suitable for the inspection of precision copper bushing.
Fast and efficient: non-contact inspection is fast, suitable for on-line inspection in mass production, and the results can be obtained in a relatively short period of time.
Wide adaptability: it can be used to inspect easily damaged or irregularly shaped copper bushings, which are not affected by material, hardness or surface shape.
Disadvantages:
Higher cost: optical measuring equipment is usually expensive and has higher maintenance costs, suitable for occasions where high precision is required.
Limited accuracy: although optical measurement methods usually have a high resolution, results may be disturbed when inspecting certain very smooth or highly reflective surfaces.
High technical requirements: Specialist personnel are required for operation and data processing, and the commissioning and calibration of equipment is also demanding.
| Previous:What are the considerations for bronze bushing finish inspection? | Next:What is the process of copper sleeve spectrometer testing? |


 Copyright © 2022