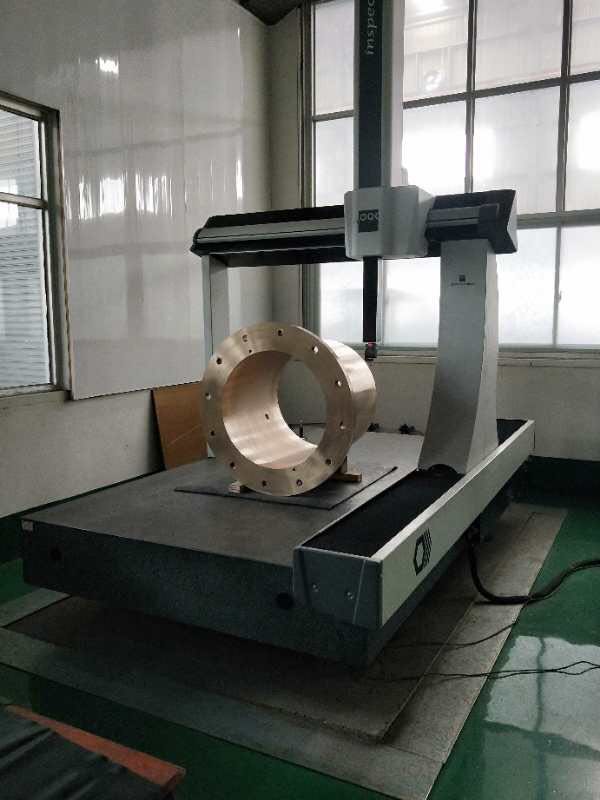
Advantages and Disadvantages of Coordinate Measuring Machine (CMM) Inspection
Advantages:
High Accuracy: CMMs are capable of delivering extremely high measurement accuracy, making them particularly suitable for complex and delicate copper fittings.
Versatility: CMMs can measure a wide range of geometries, including straight lines, circles, curved surfaces and free-form shapes, making them suitable for a wide range of application scenarios.
Repeatability: Due to the CMM's ability to automate operations, measurement results are highly repeatable and consistent, reducing human error.
Automation: CMM supports automated measurement procedures, which improves measurement efficiency and reduces human intervention, making it suitable for quality control in mass production of copper fittings.
Data Processing: Measurement data can be directly integrated with CAD systems for subsequent data analysis, quality inspection and production adjustment.

Disadvantages:
High cost of equipment: CMM equipment, software and probes are expensive and require a large initial investment.
Complicated operation: CMM equipment requires specially trained technicians to operate and maintain, resulting in high learning costs.
High environmental requirements: CMM has strict requirements for temperature, humidity and vibration in the working environment, and usually requires a specialised laboratory environment to reduce the impact of external factors on the measurement accuracy of copper fittings.
Slow measurement speeds: Especially when measuring with high precision or scanning complex surfaces, measurement speeds can be slow, affecting productivity.
Limitations: For large copper fittings or certain complex shapes, the CMM may not be able to measure directly and may require the use of auxiliary tools or methods.
| Previous:What is the three-coordinate inspection of copper bushing? | Next:What are the considerations for bronze bushing finish inspection? |


 Copyright © 2022